![]()
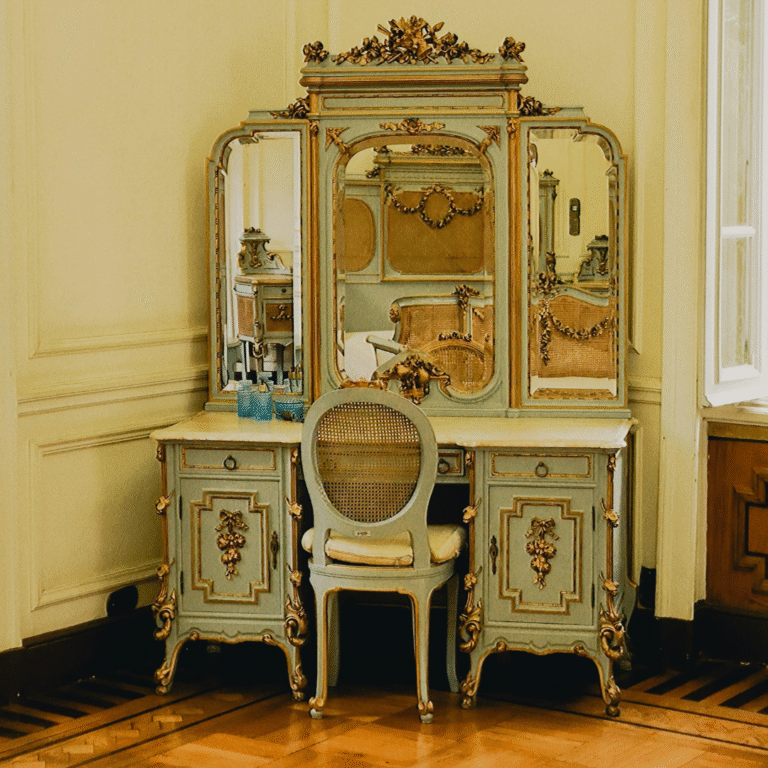
Donec efficitur, ligula ut lacinia
viverra, lorem lacus.
![]()
Donec efficitur, ligula ut lacinia
viverra, lorem lacus.
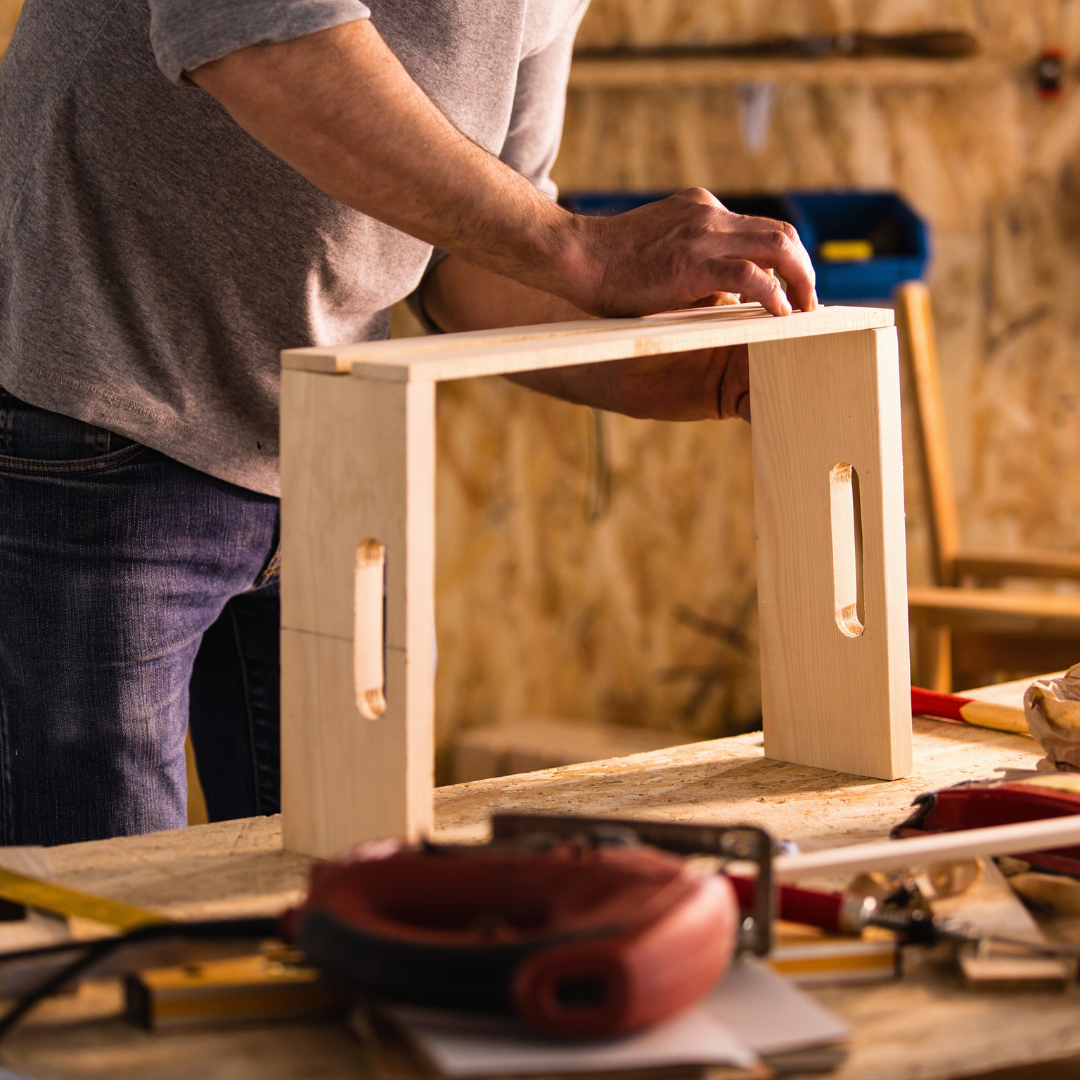
DIY furniture restoration can be rewarding, but it is often fraught with avoidable errors. Many enthusiasts jump in without proper preparation, leading to damage or disappointing results. Common mistakes include using the wrong materials, neglecting safety precautions, and failing to properly assess the piece’s condition before starting.
Understanding these pitfalls can save time, money, and effort. By recognising where others frequently go wrong, people can approach restoration projects with confidence and clarity. This knowledge helps ensure the finished piece is both functional and aesthetically pleasing.
Many restoration projects fail at the preparation stage due to overlooked details that affect the final result. Proper cleaning, structural assessment, and abrasive choice are critical steps that determine both the quality and durability of the restored piece.
Before starting any restoration, thorough cleaning is essential. Dust, grease, and old finishes can obscure damage and make new finishes adhere poorly.
Using gentle cleaners designed for wood furniture helps remove contaminants without harming the surface. After cleaning, a detailed inspection identifies issues such as cracks, loose joints, or woodworm holes.
Failing to spot these problems early often leads to more extensive repairs later. Skipping this step may also result in restoration products reacting unpredictably with hidden residues.
Structural integrity is crucial for functional and safe furniture restoration. Ignoring loose joints, broken components, or weakened frames compromises the piece’s longevity.
Restorers should test joints by gently wiggling parts and looking closely for splits or gaps. Repairs might include glueing, clamping, or replacing small elements.
Addressing structural faults at the start prevents further damage during refinishing. Neglecting this can cause finishes to crack or peel due to movement under pressure.
Choosing the correct sandpaper grit is vital for preparing wood furniture surfaces. Coarse grits (60–80) remove old finishes quickly but risk scratching soft wood fibres.
Medium grits (120–150) are suitable for smoothing bare wood without deep marks. Fine grits (220 and above) prepare surfaces for finishing, providing a smooth base.
Using too coarse a grit creates damage that is hard to conceal. Conversely, starting with fine-grit wastes time and effort. A proper sanding sequence preserves wood integrity and enhances finish adhesion.
Selecting the right materials and applying them correctly is essential in furniture restoration. Mistakes like inappropriate paint selection, over-application, and ignoring compatibility can ruin the project and damage the wood furniture.
Choosing a paint or finish that does not match the wood type or the furniture’s intended use results in poor durability and appearance. For example, water-based paints may flake on hardwood surfaces if not properly prepared.
Glossy paints are often avoided on vintage furniture because they highlight imperfections. Instead, using chalk paint or specialised furniture paint improves adherence and finish quality.
It is also vital to consider indoor vs outdoor use. Using exterior-grade finishes on indoor pieces can lead to unwanted chemical smells and unnecessary hardness, reducing the natural feel of the wood.
Applying too many paint or finish layers can cause uneven drying and peeling. Each layer must dry fully before applying the next, or bubbles and cracks will form.
Heavy application often hides original wood grain, a key feature in many restorations. Light coats preserve texture and prevent buildup that looks artificial.
Using a brush or roller inappropriate for the product leads to streaks or pooling. A foam brush works well for smooth finishes, while a natural bristle brush ensures thinner coats on rougher surfaces.
Ignoring compatibility between wood, paint, and finish types risks chemical reactions and poor adhesion. For example, oil-based primers are incompatible with some water-based topcoats and vice versa.
Testing a small, unseen section for at least 24 hours informs whether products will dry properly or cause damage. This step can prevent costly mistakes.
Compatibility also extends to previous coatings. If the original finish is unknown, sanding to bare wood before repainting avoids mixing incompatible layers that cause bubbling or peeling.
Successful furniture restoration depends on careful technique and proper safety measures. Neglecting these areas can cause poor results or physical harm. The following points highlight key pitfalls to avoid for a safe and effective project.
Skipping or inadequately preparing the surface is a common error in furniture restoration. Dust, dirt, and old finish must be fully removed before applying new layers. Failure to do so leads to uneven adhesion and peeling later.
Using the right grade of sandpaper is crucial. Coarse grit (60-80) removes old paint or varnish, while finer grit (120-220) smooths the surface for finishing. Improper sanding leaves scratches or gloss inconsistencies.
Surfaces should be cleaned after sanding to clear away dust. Using a tack cloth or damp rag ensures no particles interfere with the finish. Without proper prep, the final coat will not adhere well or look uniform.
Many underestimate the time needed for thorough sanding. Rushing this step results in an uneven surface with visible blemishes or rough patches. This affects stain absorption and the overall look.
Patience is key, especially when working on curved or detailed areas. Using a sanding block or sponge can help maintain even pressure and prevent gouging. Sanding must follow the grain of the wood to avoid damage.
Frequent checks of the surface between passes can prevent over-sanding or missed spots. Taking time ensures the finish will be smooth and durable. Skipping or speeding this process wastes effort in later steps.
Ignoring safety gear during furniture restoration exposes individuals to hazards like dust inhalation and chemical exposure. Sanding creates fine dust particles that can irritate the lungs and eyes.
Protective equipment, such as dust masks or respirators, is essential when sanding old furniture or using solvents. Safety goggles protect against flying debris and splashes from varnishes or stains.
Gloves prevent skin contact with harsh chemicals that may cause irritation or allergic reactions. Proper ventilation also reduces fume accumulation. Safety precautions should never be overlooked to avoid health risks.
Ensuring restored wood furniture lasts requires the right finishing steps and proper care after restoration. Applying protective layers and correct storage are crucial to maintain the work and prevent damage over time.
Skipping the final protective coat leaves wood furniture vulnerable to moisture, scratches, and stains. A clear varnish, polyurethane, or wax adds a sealed barrier that shields the surface.
Without this layer, furniture absorbs humidity and dirt, accelerating wear. Proper application involves multiple thin coats, allowed to dry fully between each pass to avoid tackiness or uneven finish.
For best results, sand lightly with fine-grit paper between coats to ensure smooth adhesion. Missing this step often leads to a patchy finish that reduces the furniture’s durability and appeal.
Restored furniture must be stored in a controlled environment to avoid damage. Exposure to direct sunlight causes fading and drying, while excessive humidity can warp or crack wood.
A consistent temperature and humidity level—ideally around 20°C and 40–60% humidity—preserves wood integrity. Furniture should be kept off damp floors and away from heaters or air conditioners.
Covering pieces with breathable cloth prevents dust accumulation and allows air circulation, which reduces the risk of mould. Incorrect storage undoes restoration efforts by promoting surface deterioration and structural issues.