Donec efficitur, ligula ut lacinia
viverra, lorem lacus.
Donec efficitur, ligula ut lacinia
viverra, lorem lacus.


Many people want to create something useful without spending a lot of money. Easy DIY projects using salvaged materials offer a practical way to do this by repurposing items that would otherwise go to waste.
These projects are simple, cost-effective, and environmentally friendly, making them accessible for anyone to try. Salvaged materials like wood, metal, and fabric can be transformed into functional and decorative items with minimal tools and skills.
By using what is already available, individuals reduce waste and add character to their homes or gifts. This approach appeals to those who appreciate sustainability and creativity without the need for complex techniques.
Salvaged materials require careful identification, appropriate tools, and reliable local sources to create durable, attractive DIY projects. Understanding these elements ensures both safety and quality in crafting with reclaimed wood or weathered wood.
Reclaimed wood often comes from old buildings, barns, or pallets. It is typically weathered wood, showing signs of age like knots, cracks, or variations in colour. Checking for nails, screws, or rot is essential before use.
Salvaged materials may include metal, glass, or bricks, but wood remains the most popular for DIY. Weathered wood offers unique character but can be brittle. Testing for sturdiness by pressing or gently tapping helps determine usability.
Labelled salvage yards or architectural salvage stores specialise in treated, seasoned reclaimed wood. Avoid wood with chemical treatments unless verified safe. Proper identification prevents future repair issues.
Basic tools for working with salvaged wood include a claw hammer, handsaw, power drill, measuring tape, and sandpaper. A crowbar or pry bar helps dismantle old structures without damaging materials.
Safety gear must include gloves, eye protection, and a dust mask. Old wood can contain rusty nails, splinters, or lead paint, so PPE is critical. Working outdoors or in well-ventilated areas reduces exposure to dust or fumes.
Keeping tools sharp and clean improves accuracy when cutting or drilling weathered wood. Patience in removing nails or sanding rough edges ensures safer, smoother results.
Local salvage yards, demolition sites, and construction waste facilities are prime sources of reclaimed wood and other materials. Contacting these places directly can yield affordable, high-quality wood such as flooring planks or beams.
Community groups and online platforms offer free or low-cost salvaged items. Networking with contractors or builders can provide early access to weathered or reclaimed wood.
Farm auctions and estate sales sometimes feature old barn wood ideal for rustic projects. Checking the condition before purchase is advisable to avoid costly repairs later.
Several practical projects can be made with salvaged items, each bringing character and functionality. These projects require minimal tools and skills while maximising repurposed materials like wood and metal.
Floating shelves are a popular choice for using reclaimed wood due to their minimalist appearance and ease of installation. Salvaged wood provides natural texture and often a distressed finish, eliminating the need for heavy sanding or staining.
To build, cut the reclaimed timber to desired lengths, ensuring edges are even. Attach sturdy brackets or concealed supports to the wall, then fix the shelves securely. Picture ledges work similarly but may include a small lip to prevent items from falling.
These shelves are ideal for displaying books, plants, or art. They combine practicality with an eco-friendly approach by using existing materials.
A reclaimed wood planter makes good use of leftover wood off-cuts or pallet slats. The wood should be treated or sealed to resist moisture and protect plants.
Construction involves measuring and assembling boards to form a rectangular or square box. Nails or screws join the pieces firmly. Adding a plastic liner or drainage holes enhances plant health by controlling water flow.
This project is suitable for herbs or small flowers and fits well in indoor or outdoor spaces. It highlights the natural grain and age of the wood, creating a rustic atmosphere.
A wine rack from salvaged wood is both decorative and functional. The most common designs use slats or blocks arranged to hold bottles horizontally, keeping corks damp.
Simple racks can be built from pallet sections, cutting spaces to insert bottles securely. Larger racks may require reinforcing supports and precise measurements to ensure stability.
Finishing the rack involves sanding rough edges and optionally adding a clear coat for protection. This project suits kitchens or dining rooms, adding vintage charm while organising the wine collection efficiently.
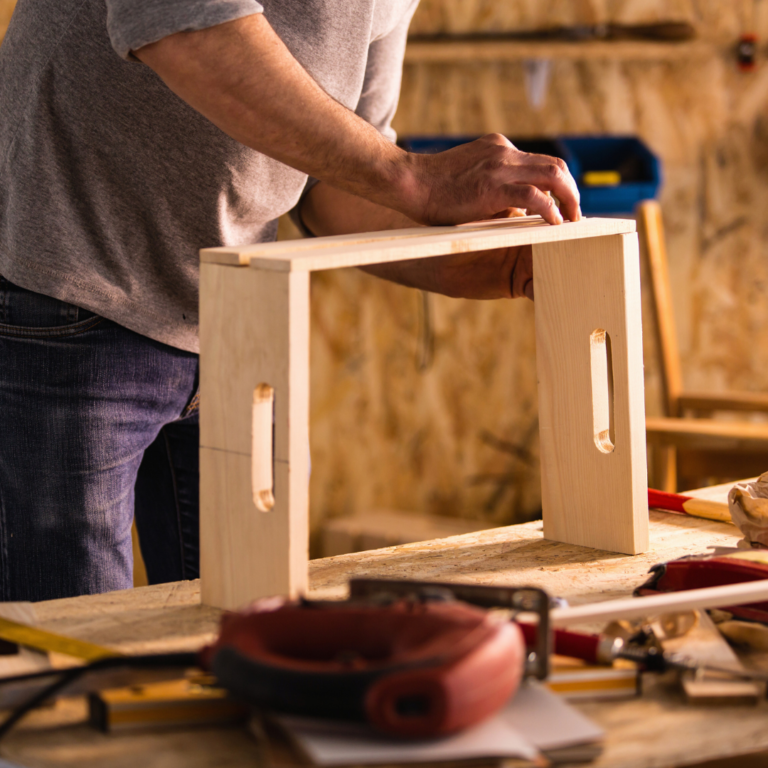
Rustic furniture made from salvaged wood often includes tables, stools, or benches. The wood’s natural imperfections, like knots and ageing marks, create a unique character.
The process begins with selecting sturdy boards and planning cuts to maximise usable material. Joinery can range from simple screws to traditional wooden dowels, depending on skill level.
Common finishes include oil or wax to retain texture. This furniture style supports sustainability while offering customised, durable household items that fit a rustic or farmhouse aesthetic.
Salvaged materials can form the basis of practical and stylish home projects. These ideas focus on accessible skills and common reclaimed wood sources to help beginners create functional pieces.
A floating vanity offers a modern look and can be built using reclaimed wood for a durable, eco-friendly finish. Beginners should choose sturdy planks free of rot or serious damage. The key steps involve measuring the wall space accurately and creating secure mounts using metal brackets or cleats.
The vanity surface can be sanded smooth and sealed with a waterproof finish to handle moisture. Installing the sink requires cutting an opening in the wood, which can be done with a jigsaw. This project combines basic carpentry with plumbing preparation, making it suitable for those comfortable with simple power tools.
Small decorative items make excellent introductions to DIY reclaimed wood projects. Beginners can craft coasters, picture frames, or candle holders using scrap wood pieces. Key tools include a handsaw, sandpaper, and non-toxic wood stain or paint.
These items require minimal cutting and finishing, emphasising attention to detail. For example, sanding edges smooth ensures safety and a refined appearance. Decorating with paint or stain highlights the wood’s texture while protecting the surface. This approach allows beginners to practise measuring, cutting, and finishing skills without a large time or resource commitment.
Upcycling involves restoring or transforming old furniture into more useful or attractive pieces. Reclaimed wood can replace damaged parts or serve as decorative enhancements. Simple projects include refurbishing a chair by replacing worn slats or repainting an old table with a distressed finish.
Beginners should focus on sanding surfaces and selecting compatible finishes, such as chalk paint or varnish, to preserve the wood’s character. Tools like clamps and wood glue are essential for repairs. Careful planning ensures the piece maintains structural integrity while gaining a fresh look. This project builds hands-on experience with wood preparation and assembly.
Applying the right finishing methods ensures that salvaged materials not only look good but also last longer. Choosing sustainable options for preservation and maintenance supports environmentally responsible crafting while enhancing the durability of DIY projects.
Salvaged weathered wood often requires cleaning and stabilising before use. Remove dirt and loose fibres using a stiff brush or low-pressure water wash. Avoid harsh chemicals that can damage the wood’s integrity.
Sanding is essential to smooth rough areas, but it should be done lightly to preserve the natural character. Applying a wood hardener can strengthen softer or decayed areas, extending the wood’s lifespan without replacing it.
Key steps:
These measures maintain the wood’s unique appearance while improving function.
Choosing non-toxic, water-based finishes reduces environmental impact and enhances indoor air quality. Natural oils like linseed or tung oil penetrate wood fibres, protecting weathered wood without forming a surface film that can crack or peel.
Low-VOC or zero-VOC paints are preferable for colouring salvaged materials. These paints release fewer harmful compounds and offer good durability. Clay and milk paints can also be considered for a matte, breathable finish that supports sustainability.
Comparison table:
| Finish Type | Environmental Impact | Durability | Appearance |
| Natural Oils | Low | Moderate | Enhances grain |
| Water-based Paint | Low | High | Smooth, vibrant |
| Milk/Clay Paint | Very Low | Moderate | Matte, rustic look |
Selecting finishes based on material use and location improves longevity while staying eco-friendly.
Regular inspection prevents deterioration, especially for outdoor projects made from salvaged wood. Look for signs of moisture damage, insect activity, or wear. Reapply protective finishes every 1-2 years, depending on exposure.
Cleaning with a soft cloth or mild soap avoids buildup without damaging finishes. Avoid pressure washing as it can erode surfaces. For structural joins, tighten screws or nails to keep pieces secure.
Proper storage during off-season periods, such as indoors or under cover, significantly extends project life. These simple habits preserve both appearance and function while maintaining sustainability.